how to draw a head and face.
Drawing the basic head shape.
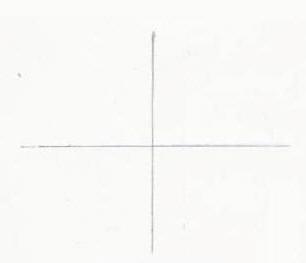 For this tutorial on How to draw a head and face the first thing to do is to draw a cross on a piece of paper.
NB: If you want to place the head specifically on your drawing then draw the cross in the appropriate position.
Then choose a point near the top and add another faint dot. With that done, now judge the distance from the dot to the centre of the cross where the vertical line meets the horizontal line of the cross. Using this distance put another dot at approximately the same distance below the horizontal line of the cross. This will mark the top and bottom of the head shape.
Now repeat the process on the horizontal line to establish the width of the head. You will need to have a rough idea of the head shape you want to draw before you mark out these points.
All head shapes are different so don't worry to much if it isn't a perfect oval. Remember this is only a guide to get you started.
The next step is to lightly sketch your head shape by joining the dots using curved lines from point to point. Make sure that both sides of your head are equal or it will look out of proportion. However, if you are slightly out, don't worry to much as it can be adjusted up later.
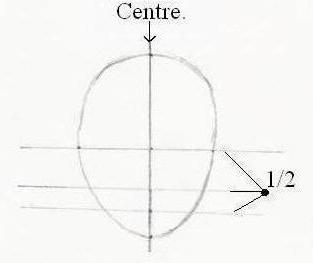 With that done, the next step is to divide the bottom half of the face in half and then half again as shown above. This will give your guide points for the base of the nose and the centre of the mouth. However, it is important to remember that all faces are different so the proportions can vary.
Positioning the eyes.
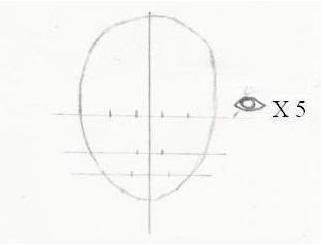
A general guide for positioning the eyes is to divide the horizontal centre line into five equal spaces making sure that the vertical line through the face is the centre of your 3rd space as shown above. This will give you the width of the eyes and top of the nose in proportion to the rest of the face.
How to draw a head and face, positioning of the nose.
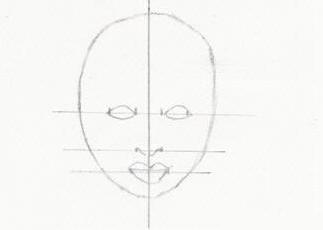
Moving down the face, now place two small marks in line with the inside point of the eyes. This will give you the width of the nose at its base in proportion to the rest of the face.
How to draw a head and face, positioning of the mouth.
Moving down again, next place a dot roughly in line with the centre of the eyes. Doing this will give you the width of the mouth in proportion to the rest of the face.
Basic shapes.
Once you have added the basic shapes of the eyes nose and mouth the face will start to appear.
Following this, the next thing to do is to start adding the basic facial details.