How to draw feet for beginners.
How to draw feet.
Drawing feet.
Feet for me are probably one of the hardest things to draw.
Before embarking on this tutorial on how to draw feet I spent endless hours studying pictures of various feet in various positions. I began to notice that I could loosely place each part of the foot into a certain shape and thus found that by first lightly sketching the shapes on the page I could begin to build my picture.
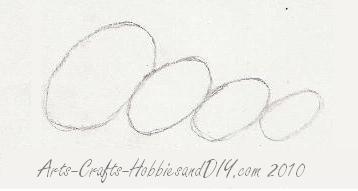
Below are examples of what I mean.
In this first sketch, I am going to start with four ovals. Starting big and getting smaller as I go. This will give me my basic shape for my foot
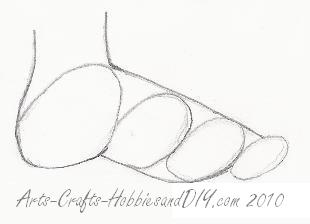
Once I have drawn my ovals I then begin to roughly draw the outline of my foot. Starting at the heal and working towards the toes.
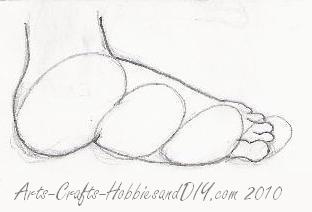
When I was happy with the shape I then began to add the toes. Getting the right shape of the toes was quite hard at first. However, with a little perseverance, they began to take shape. I did find that starting with an oval or circle for the top of the toe and then adding another oval narrowing back to the foot I could produce a convincing toe shape. See also How to draw toes.
How to draw feet: Adding the details.
After I had finished shaping the foot and the toes I then added a few details. The most important detail was the toenail. When adding the nail take care to shape it over the toe as seen below. This will emphasise the toe and produce a more realistic looking foot. Also slightly emphasise the joint of the toe and try to shape the toe back to a fixed point roughly to the centre of the foot. Remember to keep practising. Don't worry if at first, your foot looks odd, after all, feet are pretty odd looking things anyway and no two feet are the same.
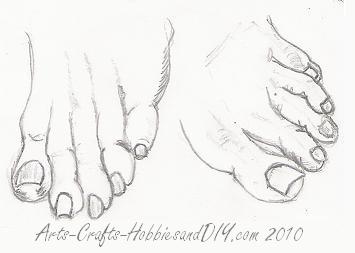
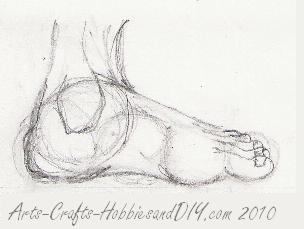
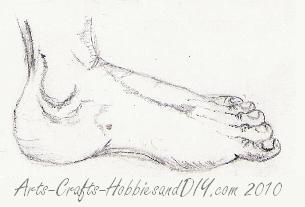
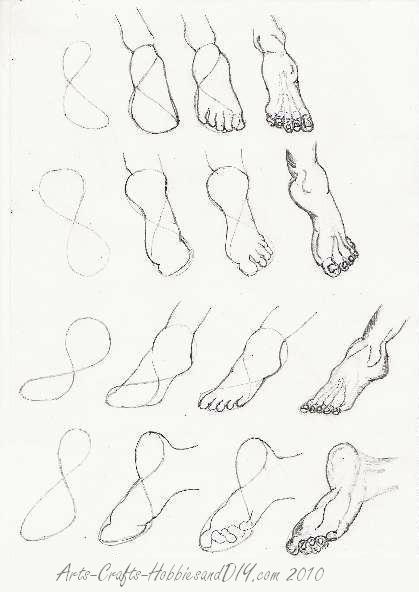
Figure eight feet.
Another thing I noticed when studying my pictures was the shape the foot made in certain positions. I experimented with several different ways to draw them until I found that by using the figure eight or at least a slight variation of it I could set out the basic shape of the foot. This meant that all I had to do then was fill in the shape of the foot as seen below. Once I had done that I then fine-tuned the sketch until I was happy with the overall look.
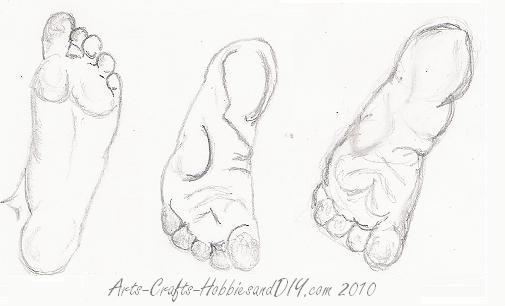
If you look closely at the above view of the underside of the foot you will begin to see a figure eight forming from the heal to the toes.
Remember practice, practice, practice.