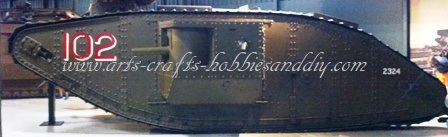
How to make a model WWI landship.
How to make WWI Landship tank track assemblies.
Parent supervision required !!
How to make a model WWI landship, for this simple project you will need:
An average Cereal sized Cardboard box or craft card.
Ruler or set square.
A craft knife or Scissors
Pencil or pen.
Acrylic or watercolour paint.
A paintbrush.
PVA adhesive or sticky tape.
Glue spreader or glue stick.
Wine bottle cork.
3mm dowel or a matchsticks.
Cotton buds.
With the Sponsons made and the QF-6 pounder 6cwt Hotchkiss guns assembled its now time to make the Landship tank track assemblies.
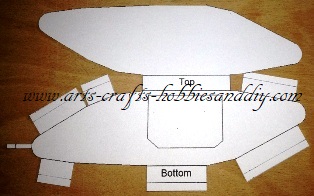
Stage 1: Forming the assemblies.
Use Sheet 2.
Firstly, carefully cut around each track assembly template. Do not remove the rectangle that forms the opening for the sponson and gun as this will weaken the template before the folds are made causing the template to buckle. Make all folds as shown.
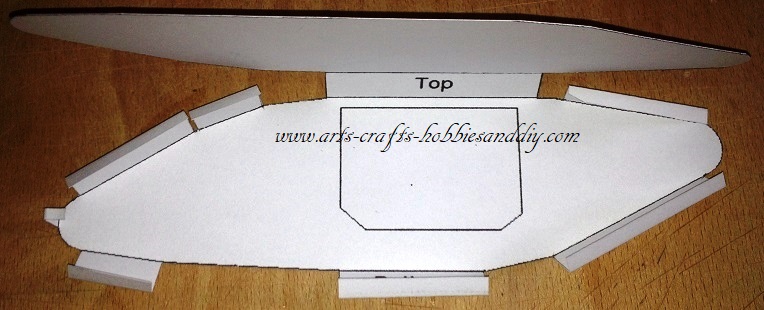
Once the folds are made, it is necessary to re-flatten the template to enable the careful removal of the sponson opening.
With that done, place the track assembly template with the writing as shown in the picture. This is very important to prevent putting the wrong sponson in the wrong opening, being that there is a left and a right. Now place the correct Sponson under the template as I have shown below. With the correct sponson chosen, apply glue all around the sponson opening.
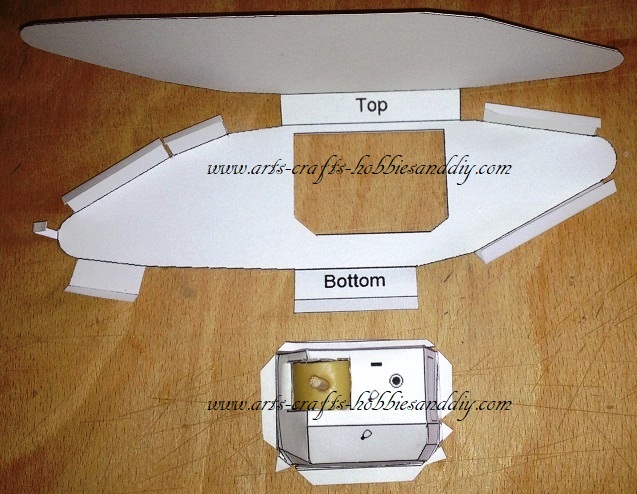
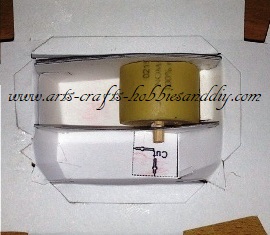
Adding the gun sponson to the track assembly.
To begin with, take the gun sponson with the gun facing forward, as shown in the picture. Carefully feed it through the sponson opening - making sure that gun mount is at the front of the tank track assembly and that all the tabs are also in contact with the track assembly template.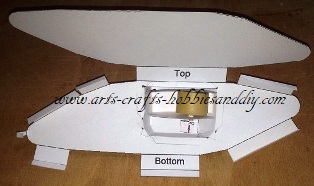
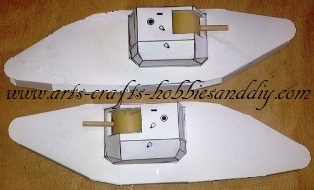
Completing the track assembly.
With the gun sponson fixed firmly in place refold the track assembly template tabs and then begin sticking them to the opposite template.
Stick the bottom tab in place first as it will help ensure that all the other tabs line up correctly. With the bottom tab fixed, put the track assembly on a flat surface and line up each tab and then stick them individually. Depending on the thickness of card, try also to make sure that the template doesn't buckle or distort as the tabs are fixed into position. As shown below.
Adding tank tracks to a model WWI Landship.
With that done, the next thing to do is add the tank tracks - which can be found on Sheet 4. Cut each track at its full length and then stick it around the track assembly. You'll also notice that the ends of the tracks are different. This will help to make a neat butt joint when you stick them around the track assemblies. Add the first track as shown, starting on the bottom. Then carefully fixing the track approximately midway on the base of the tab. Carefully lay it around the assembly so that it ends on the bottom tab at the other end of the assembly. 
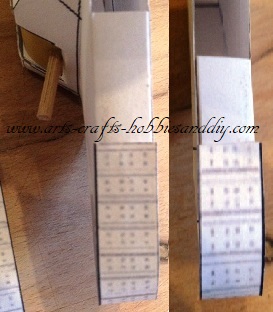
With the first length of track in place now add the second length by butting it up to the first and trimming it to fit. Because the join is on the bottom, if it does not fit perfectly, it will never notice. 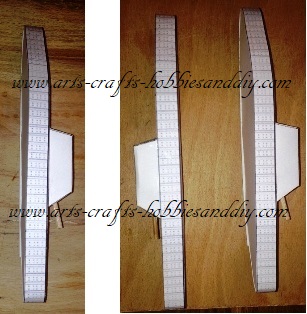
It is now time to assemble the Model WWI Landship body.