WWI Model Tank Kit
How to fix the Crew turret, manhole turret and rope box to a WWI Landship kit.
Parent supervision required !!
Completing a WWI model Tank kit. For this simple project you will need:
An average Cereal sized Cardboard box or craft card.
Rubber bands.
Ruler or set square.
A craft knife or Scissors
Pencil or pen.
Acrylic or watercolour paint.
A paintbrush.
PVA adhesive or sticky tape.
Clothes Pegs.
Glue spreader or glue stick.
Wine bottle cork.
3mm dowel or matchsticks.
Cotton buds.
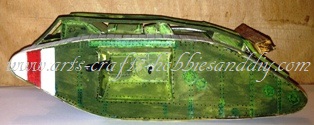
With the tank track assemblies and tank body fixed together, now is the time to add the crew turret, manhole turret, rope box plus all other parts needed to finish building the model landship.
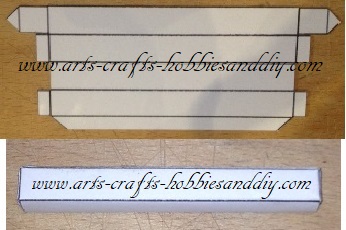
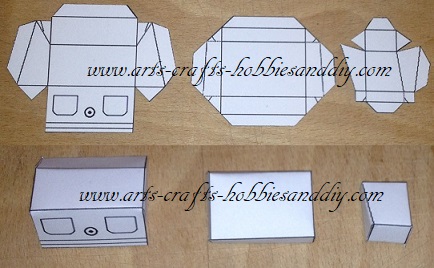
Stage 1: Forming the crew turret, manhole turret and rope box.
Use Sheet 1.
To begin with, carefully cut around the crew turret, the manhole turret and the rope box as shown. Next, make all folds taking care to fold along each line and then form all of the above components.
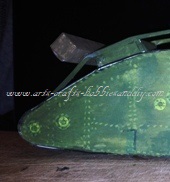
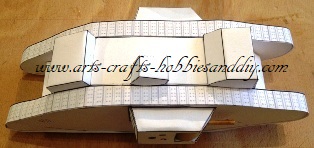
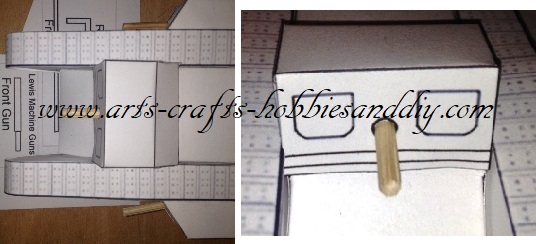
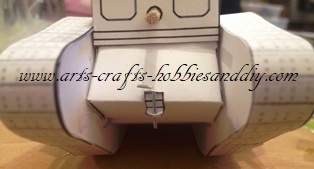
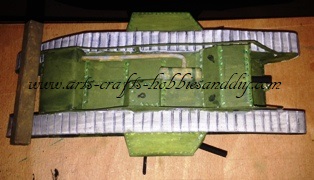
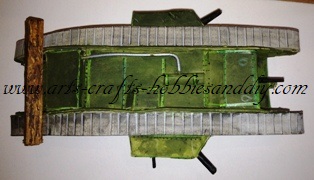
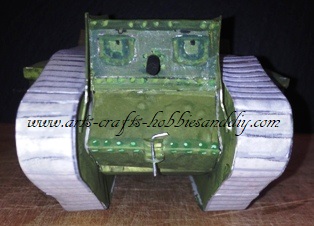
Next, fix the crew turret to the front of the tank, followed by the rope box on the back and the manhole turret on the left side just in line with the gun sponson as shown in the images below.

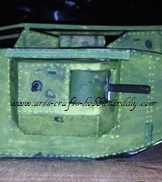
Now that the crew turret's in place, its time to add a gun. To do this, take a 3mm piece of dowel, then using the template on Sheet 3 cut a piece to suit. Once the dowel's cut to length make a small hole in the crew turret and then insert the dowel to the desired gun length.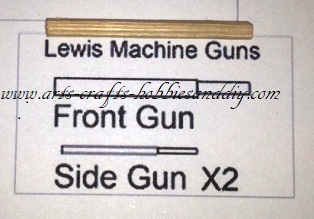
Stage 2: Completing a WWI Model landship kit. Adding the tow hitch.
With all of the above fixed in place on your WWI model Tank kit, it's now time to add the tow hitch which can also be found on Sheet 3. Before cutting out the tow hitch take a pin or sharp pencil and make a small hole where marked on the template.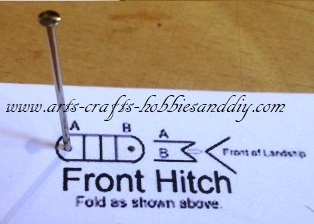 Its important to do this now because it will be almost impossible to do it without distorting the hitch once it is fixed in place. The holes will later be used to drop a bent pin or piece of wire threw to complete the hitch.
 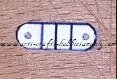 Once that is done cut the hitch out. It will also need to be folded as shown below.
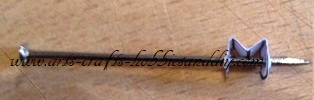
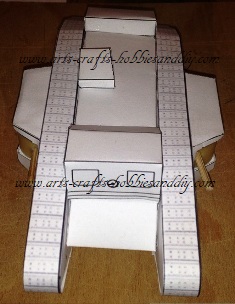
Next, carefully fix it in the centre of the front of the Landship below the crew turret. Notice that I have made a drop bar for the tow hitch. This can be done either with a paper clip of a bent dressmakers pin.
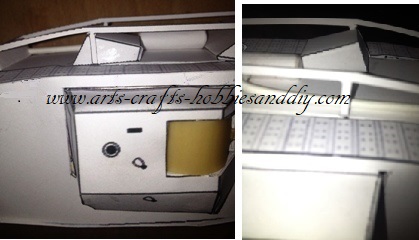
stage 3: Completing the Landship kit. Adding the exhaust system.
The next thing to do is to add the exhaust system. Use a couple of cotton buds with the cotton carefully removed. Using Sheet 3 take the cotton buds and place them on the template, then carefully bend them into shape as shown. 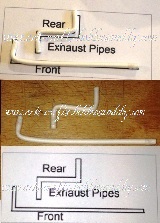 With both exhaust pieces made now's the time to add the exhaust baffle which can also be found on sheet 3. Cut out the template then begin to roll it up as shown to form a cylinder. I found rolling it up on a cotton bud stick helped. Its best to apply PVA adhesive to the card as its rolled to hold it in place. The next thing to do is to stick each end of the rolled up baffle to a spare piece of card to finish the ends neatly. Once the card has stuck carefully trim around each end to finish off the baffle.
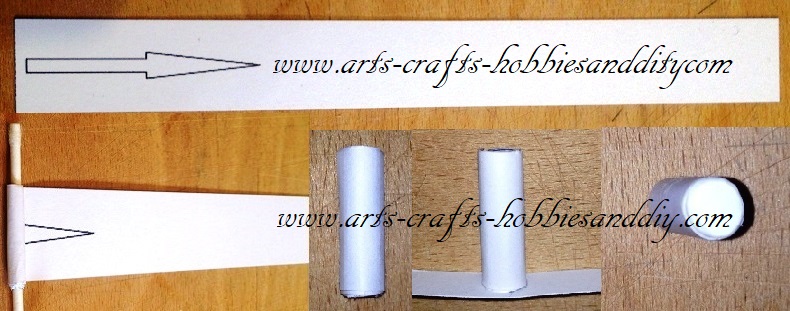
Completing a WWI Model tank, adding the exhaust.
With the baffle completed it is time to fix it to the Landship body. Stick the baffle at the back of the crew turret as shown.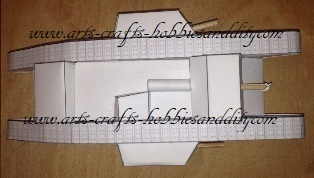
Then make a small hole in both the front and back of the toolbox at the rear of the Landship body. Make sure that they both line up as can be seen in the example. 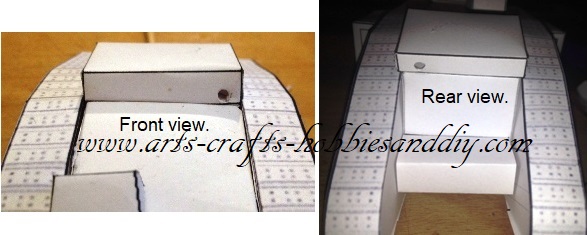 Stick the exhaust pieces in place by adding a drop of PVA adhesive to the hole then carefully insert the piece while lining it up with approximately the middle of the exhaust baffle.
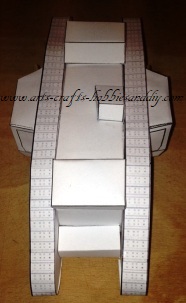
Trim the L shaped piece to fit to the side of the baffle as shown. Add another blob of adhesive to the end of the L that you just trimmed and stick it in place. 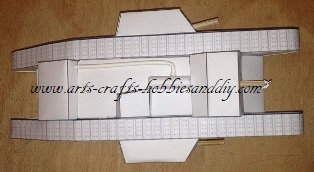 Fit the rear Dog legged exhaust piece by adding a blob of adhesive to the hole and a small blob on the top of the petrol tank then carefully insert it into the hole until it is flush with the back of the tank body kit as shown.
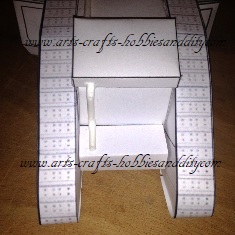
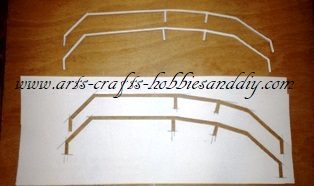
Stage 4: Completing a WWI Model landship. Adding the rails.
Using sheet 4cut the rails out as shown in the first picture. Take another piece of card or an offcut big enough to stick the card to and then apply a thin layer of PVA adhesive to the back of the card with the rails printed on and stick it firmly to the other piece of card. Doing this will reinforce the rails as they will break otherwise.
Once the glue has dried carefully cut around each rail and then fix it to the landship as shown.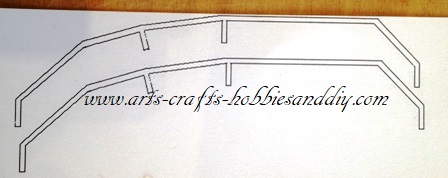
 With the rails cut out, you can now stick them in place as shown below.
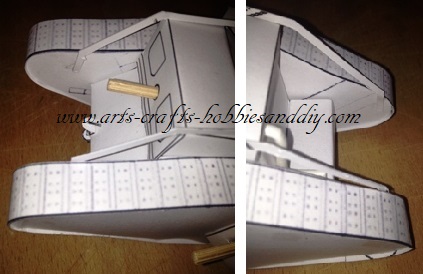

Stage 5: Painting your WWI Tank kit.
With the model WWI Tank kit complete it is now time to paint it. Using Acrylic paint. watercolour or even coloured pencils or pens. I chose to use watercolours as that is what I had to hand. Acrylics are good for these types of projects and you can find a few choices for WWI English and German acrylic paint sets in the right-hand menu.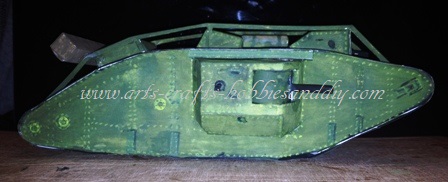
Stage 6: Adding the un-ditching log.
Lastly, assemble the un-ditching log and fix it to the back of the Landship on top of the rails as shown once you have painted it.