Graphite elephant portrait.
Graphite Elephant drawings.
Graphite Drawing of Elephants.
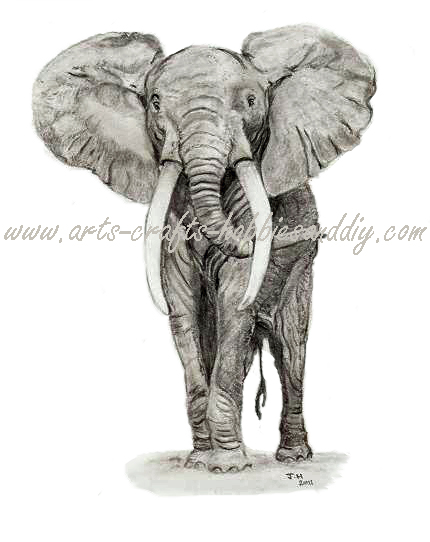
Step 5: The finished Graphite Elephant portrait.
Once you are happy with the initial look of your graphite Elephant portrait you can then begin to fine-tune and refine the definition and details as I mentioned earlier.
Firstly, using a thin piece of eraser I began to pick out some detail. Starting with the elephant's ears then moving on to the trunk, body, and legs.
NB: You can also get electric erasers for picking out the finer details which most professional artists prefer to use. There are also some other types of eraser options available like Tombow Mono zero erasers. Since first writing this tutorial I have started using the Tombow erasers and have had pleasing results in doing so.
I also darkened a few areas to create the illusion of depth and to give my Elephant a more realistic three-dimensional appearance. Using my mechanical pencil I also picked out and added a few of the finer lines. These were mainly in my elephant's ears. Around the elephant's eyes, and legs. Once I was completely satisfied with my finished picture I carefully removed all the Gridlines and reference points using a standard eraser until all that was left was my completed elephant picture.
This concludes my tutorial on how to draw an Elephant. The Elephant in the tutorial was an adult. However, if you would like to learn how to draw a standing baby elephant or baby Elephant taking a bath there are a few more easy to follow tutorials available within this site. With the really easy to follow tutorial called Baby elephant bath time. You can also find a free baby elephant template and a baby Elephant taking a bath here!
With that said, there is also plenty of information within to help you on your learning journey.