How to draw elephants.
Drawing Elephants.
How to draw an Elephant in five easy steps.
How to draw an elephant in five easy steps.
With the 2nd and 3rd steps of your elephant drawing complete, you can then move onto the 4th step of this tutorial on how to draw an Elephant.
Drawing the elephant's body
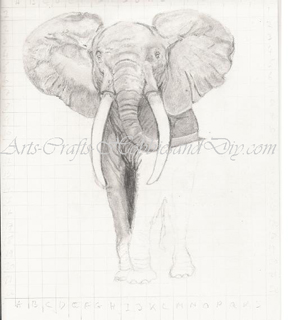
NB: I have started with the lighter areas as these are on the outside edges of the Elephant's body where the light is catching his skin in my Elephant drawing. However, if your picture is darker on the edges then you can begin with those areas first.
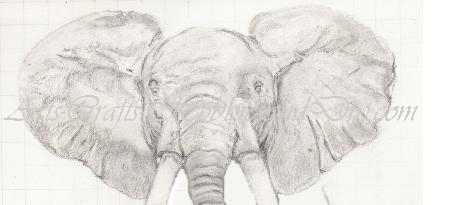
Starting from your preferred side of the sketch pad, begin to build your Elephants body. First add in the lighter areas with an H pencil. Or darker area's if this is the case with your Elephant drawing. Using a circular shading motion slowly start to build up your Elephant's skin.
However don't worry too much if you leave a few spots un-shaded. When you have added the darker areas of the elephant's skin using a 3B or 4B pencil and then carefully blended them all together the light patches will help to add texture to the skin.
How to draw an elephants skin.
If you look closely at an Elephants skin you will see that its covered with thousands of ridged creases. These give it that thick rough leathery look. By using your 3B or 4B pencil you can carefully start to add the darker areas remembering of course to keep checking your picture with the grid in place for reference, to make sure that you are applying the darker skin tones and many many creases in the right places.
NB: At this stage, it is useful to have a copy stored on your PC. Using your photo editing suite you can enlarge certain areas to give you a better idea of how each detail looks. This can be quite tedious as the longer you look at the Elephant's skin the more confused you can get. Being able to zoom in on an area of the elephant's body makes things so much easier.
Using artistic license when learning how to draw an elephant.
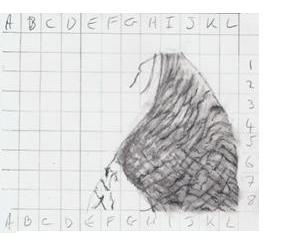 There are hundreds/thousands of creases and adding them all in can, and will become difficult. Your eyes will begin to play tricks on you. It is for this reason that unless you are looking to make a perfect reproduction I suggest you use artistic license and only add as many features as you feel necessary to create the effect that you desire. Once you have done this you can begin to blend each area of the elephant's skin into each other. As demonstrated in the separate example shown to the left.
Once you have finished blending each area you can then use an eraser or an artists stump/ tortillon to pick out a few any lighter areas on the Elephant's skin.
How to make a quick blending stump.
Tip: To make your own artist blending stump FOLD a small rectangular piece of sketch paper in half. Then on one edge fold a triangle. As can be seen in the example below. Continue doing folding until you have a tight triangle then roll the paper to form a point. Use the sharp end of the stump the same as you would a pencil to lift off some of the graphite and add highlights to your picture. See below. 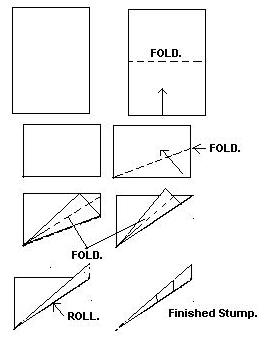
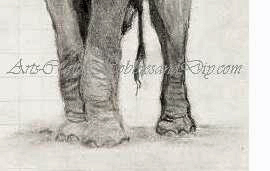
Continue building your Elephant drawing slowly working down each leg to the Elephant's feet. 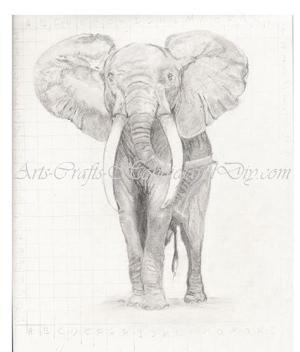 Its very important that pay attention to the darker and lighter areas. Especially if the elephant's legs and feet are close together. In these areas, there will be darker tones where the shadow is present.
If you do not, the Elephant's legs may end up looking like one large leg. You will also notice that on the elephant's legs there are visible creases running across the knee joints and around the foot so when applying these also make sure you follow the contour of each leg. An Elephants leg is cylindrical like a tube and if you fail to add these creases correctly the elephant's legs will appear to be flat and two dimensional.